Monday, December 21, 2015

Lucious Lace and Such!

I found these lace items at the Goodwill store the other day to use in mixed-media fabric projects. After I washed them and saw that they had no stains or tears in them, I was hesitant about cutting them up, but I am going to...I think.


They are all shades of white, and off whites, full of lace, fringe, patterns, textures, etc. The largest is a king sized dust ruffle with very wide cotton lace. The body is also a heavy cotton, so I also got lots of fabric to use for the body of projects. There are also three curtain panels, a valance, a table runner/scarf, and a table cloth.


Close up of the dust ruffles lace. It's about 5" wide, and I love it!

I'm going back after Christmas and check out the bridal/prom gowns and the velvet for a lot of bling to use too. I don't know if it's more fun to use the stuff or gather it up!

Happy Crafting!

Handmade Fabric Flowers


I'm learning to make fabric flowers for my first fabric journal! One of the ones above is made out of tulle, and I got my mom to crochet the two tiny doilies to use as flower centers. They will have button/bead centers!


The larger one is loose woven cotton, the smaller one is muslim/lace, and the smallest one is cotton with a newsprint pattern on it...


Another tulle and two different muslim flowers! Thank goodness for youtube videos. These are so fun to make! Thank you to those who freely share your knowledge with the rest of us! :D

Merry Christmas!!!


Thursday, November 12, 2015

New Things I'm Playing With


The beginning layers...


Where it is now, but definitely not where it's going to stay...


Six layers of gelli print images to start in art journal, now where to go from here...

Saturday, October 31, 2015

Owl Be Seeing You!

An 18" x 24" mixed media painting on mixed media paper, inspired by Tracy Verdugo and Flora Bowley, with some Connie Hozvicka Solaris fearlessness thrown in.


First layers in first session...


A few of the many layers the painting went through above and below. Shapes are beginning to emerge...


The final version! Sorry about the photography. It does look better in person. There's more I could do to it, but I decided to stop, at least for the time being. Click on the picture to see more symbols and layers! I didn't do the best job in the world, but I had fun doing it and playing with different media, textures, and techniques, and I really enjoyed approaching it without fear. I like it!


I thought it was the final version! The butterfly kept bothering me, and I changed its color about 3x and decided it was the size and position of where it is, so I took some of the paint off in the area and stenciled some white dots over the area. It still didn't look right!


I used some small stencils to add the bird and other patterns over the owl's head and around. Not the best photo, but I like the painting much better and can leave it alone...unless I decide to cut it up for other projects...

Now you know what the inside of my mind looks like! :D

Now working on another 18"x24" painting inspired by the same teachers on mixed media paper on which a bunny has made itself known. Don't claim to be a pro, but this style of painting is so much fun, and I just signed up for another mini course with Tracy on Color, Pattern, and Texture, which starts Dec. 15 (go to sidebar and click on the Animalitos Mini Mojo course to check it out). It's an early Christmas present to myself! :D

Small Dress Painting

My mom still had my prom dress from 1966 when I was a junior in high school. I'm planning to cut it up to make a fabric journal, but I decided to paint it first. I didn't have it in front of me, so I painted it from memory in mixed media on a  5"x 7" piece of hot press watercolor paper.


Acrylics, gesso, soft pastels, stabilo pencil, gelly roll pen, gelatos, brush, water


I decided it needed a bit more color, but I'm debating on leaving it this way. I also got the dress a little shorter than it should have been, since it was a long dress, but it was fun to paint in my regular style for a change, as much as I enjoy mixed media pulled out and intuitive painting.

By the way, hubby took me to my Jr banquet/prom, so this dress is a precious memory. We have been married 45 1/2 years now. Not always easy, but always worth it! :D

Happy Painting!


MIA Lately!

Hello out there! I'm still here! grin emoticon Just having health problems and haven't finished anything in a few days, plus I've been sitting up way late watching TV with the hubby and sleeping in, in the mornings, which doesn't leave me much time or energy, despite how much I enjoy it. I'm going to have to reverse that trend quick! I need ME creative time! Will try to have something to share shortly! Thank you all for your support of my shared attempts! 

Wednesday, August 19, 2015

Puddy Cat Inky Animal


An inky animal, inspired by Tracy Verdugo's Animalitos mini-course (see sidebar for link) on a blank page in my mixed papers journal. The cat also has other media besides ink on it, and I did it several weeks ago...


This week I've been working on the background. I know it's easier to do the background first, but sometimes I work backwards. That's just me! :) I used found and bought stamps, text, acrylic open media paints, Pitt brush pens, and metallic pens on gessoed paper for a double spread.

The text in the lower right corner says, "She loved this time of day, loved feeling melancholy and loved sitting under the elm, looking up into dark against sky." I borrowed it from a book I'm dismantling. 

The story may, or may not, be finished, but I've had fun doing the pages. Very meditative and calming for me!


Thursday, July 30, 2015

Inky Elephant and a Red Bird

Another fun little f-nut inspired by Tracy Verdugo's Animalitos class (link on sidebar). These are addictive!


F-nut shape on 300# watercolor paper with acrylic inks; I used a small blue elephant salt shaker figurine for a model....


I should have done the harlequin stenciled background BEFORE the elephant, but didn't. I added it and my handmade bird stencil after, and added patterns and marks to the elephant and bird with metallic gel pens, Pitt brush pens, metallic markers, and acrylic paints. The b/w background bothered me, so I added some red-gold metallic marker across the bottom to kind of break it up...


Still didn't like it, so I went over some of the red-gold with a plain gold metallic marker and added acrylic paints to the white background, then wiped it off, and added more embellishments to the figures...


The colored background seemed a bit much, so I repainted it with a burnt umber tinted white to tone it down and kept working on the embellishments...


I added some final touches to the elephant and bird and called it done. I love it!

They both have a tear and a flower, because losing someone you love is NEVER easy, and a good friend to help you through it is a great blessing...

Monday, June 29, 2015

Stencil Cutting Practice

Been practicing cutting my own stencils and masks and trying them out in one of my art journals. All of the try-out journal pages will be worked on further, so these are just beginning pages and are still works in progress...


Journal pages, of various papers, where I tried out the stencils cut from Graphix stencil blanks at the top, and the stencils/masks at the bottom. I know they don't look perfect, and they aren't, but I happen to like wonky and imperfect! :) I used open media acrylics dabbed on with a stencil brush for these pages...


The same journal pages after I added some marks all pencil to the birds/chicks to further define them. I like them! :)


Journal page try-outs on the top on gessoed and patterned paper, with open media acrylics; stencil and mask on the bottom! Bare beginnings of the pages.


I cut these stencils/masks from a blue transparent Graphix stencil film, on the bottom, and tried them out on journal pages of various backgrounds and papers by spraying Delusions Inks on them. I have since done more work on them, but don't have pictures yet.

I'm staying with very simple designs to learn on, and I think I'm getting better with every one. I've had trouble with my stencil cutter getting too hot and causing the point to bend while I'm cutting. I'm going to try a different point next time, and if that doesn't work, I'll retreat to using an x-acto knife again. They're pretty dependable for lots of things!

Have a great week!


Animalitos Cats and a Stenciled Hand

A kitty pair inspired by the inky animalito class (see sidebar for link)...


I probably should have put some sort of background, and I may at some point, but here they are with some pen and marker work added...


I decided to add a background with Gelatos and brushed them around with water...


and a journal page using one of my handmade stencils with dylusions spray ink and a gold gelli pen, which will probably have more elements/words added later.

Both were a lot of fun to do! Still need more practice though!

Sunday, June 21, 2015

Animalitos Flower Garden Rabbit

I forgot to make progress pictures, but this is a journal page with a flower garden bunny inspired by the Animalitos class (see sidebar for link). I didn't intend the bunny to be black, but I guess that's what he wanted to be, because that's how he turned out! And, yep! I do like dots! :)

I just had fun with him and the flower garden...


This is mixed media (acrylics, inks, handmade button stamp, markers, gel pens, paint markers, collage) on a black gessoed paper journal page. I could have kept fiddling with it, but I decided to let him be, at least for now! I may have already made it a little too busy. I used a bunny picture from Pinterest as inspiration. The light glared a little bit on it. I'm still trying to find the time and energy to clean and re-organize my work space, so I can take better pictures.

Meantime, I'm just going to persevere with my creativity and see what else I can come up with!

Hope you enjoy my creative adventures, and that you're having some of your own! :)

Sunday, June 14, 2015

Tyger, Tyger in the Night! (Animalitos)

Another Animalito inspired by Tracy Verdugo (see sidebar link). This time a tiger study on cardboard, using acrylic inks and paint, markers, marks all black pencil, gel pen, and collage.

This is my first ever tiger, and I was supposed to paint loosely with a big brush. I didn't have a big brush handy when I started (I need to dig it out), so I used about a half inch one. Of course, by the end I was using a tiny brush, because that's just the way I am. I have to make everything complicated!


A start...


a close-up...


and this is how I left him when I decided to stop fiddling with him and let him be!

I used an image off Pinterest for inspiration, and also inspiration from Tracy's class. Definitely a new experience, and an adventure!

Have fun with your creativity this week! :)

Friday, June 12, 2015

Stencil Cutting


My very first attempt at cutting a simple stencil from mylar with an exacto craft knife. You can see, I had no idea what I was doing! It came apart on the spaces between the houses, but I was determined to paint at least one stencil with it in my sketchbook, and I used Gelatos. It turned out rather well, I think, but I don't know how! This stencil has now been retired. :)

I thought I might do better with a stencil burner, so I purchased a multi-tool that is a stencil cutter, wood burner, and soldering tool.

I must have already shared the first attempt with the stencil burner, because it's not in my drafts. Anyway, the burner got so hot that it softened the tip so much that it wouldn't stay hard enought to burn on the lines, and it kept bending sideways, making too wide a cuts. I thought maybe the tip was loose and had hubby to tighten it for me. I put it away for a while.

This morning I got it out again with some Graphix Stencil Film and tried burning a bird and a paisley shape, after sketching them off with a pencil.


The stencils and blanks turned out pretty okay, considering that I had shaky hands, and after I burned the bird shape and part of the paisley, the tip, again, got so hot that it was bending sideways with the least bit of pressure, so I unplugged it to cool off. I guess you're only supposed to cut a few minutes and let it cool, etc.

 I also got the space between the bird legs too thin and it came off. I was going to glue it back, but it got lost somewhere on the table. I got three shapes from the paisley cutting, which I like.


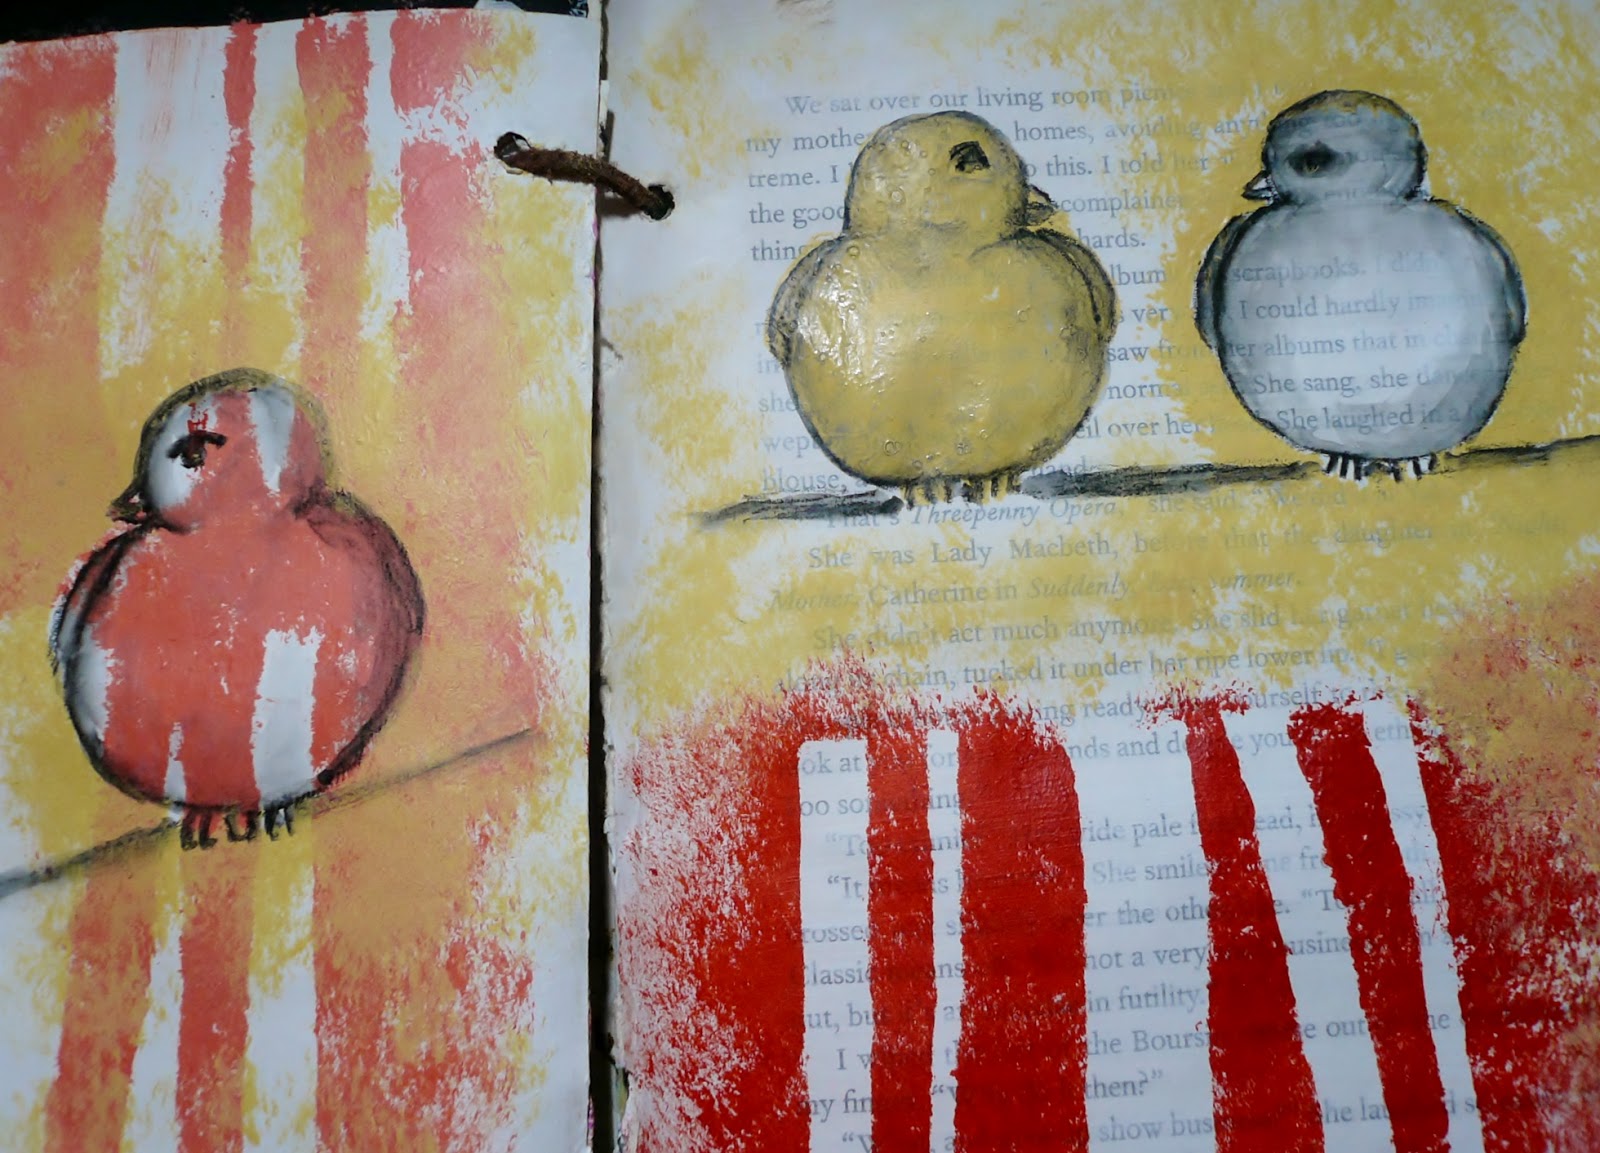
A trial of the stencils/blanks from this morning in an art journal, using Van Dyke Hue open media acrylic and a stencil brush. Marks were made in the stenciled ones with a bamboo skewer while the paint was still wet. These were made on gessoed paper, and the lower left is on the back of wallpaper. The background will be filled in later, as well as, inside the other designs.

The burning/cutting may be a little ragged, but I like it on the pages, so I will keep these for sure. Can't wait to use them with my Gelli plates!

The thing about making your own stencils, stamps, etc., is that they will be uniquely mine, wonkiness and all. Nobody else's will be like them. Of course, I do have some bought ones that would be way too time consuming and complicated to make myself, and I love those also. So, it's all good! :)

Another new experience and a batch of fun! Now, all I need is practice!

Happy Creating!

Monday, June 8, 2015

More Inky Animal Practice!

This time a menagerie of inky animals. Such fun!


I could keep adding marks to them, but I'm stopping for now and moving on. I have a feeling that these will be cut out and added to journal pages at some point!

Inspired by Tracy Verdugo's Animalitos class (see sidebar for link).

Happy creating!

Friday, June 5, 2015

Mixed Media Dove


I put the Animalitos label on this one, but actually, I created it before I decided to take Tracy's class. I have her book on Mojo Painting on my laptop and was reading it. This is a 6" x  6" gallery wrap canvas, and I just started layering collage, acrylic paints, handmade stamps, and one tiny bird stencil in the lower right corner, until I saw an image start to come forth. Can you see it?


I tried to lighten the background some and put a layer of white over the image...


I re-stamped the star and heart stamps to darken them and the tiny bird again and added another layer to the dove...


A bit of black stablio pencil to emphasize a few things, and see the tiny dark bird lower right behind the feather? I could keep doing stuff to it to make it better, or maybe worse, but I like it at this point and am calling it done for now!

Happy weekend and happy painting! :)

Thursday, June 4, 2015

Button Stamp

I tried out a button stamp I made the other day. I had been thinking about doing this for a while and finally got around to it.

I used gel medium to glue several buttons to a cd case top and let it dry, thinking it would make a good tool for my gelli plate. I first tried it to lift paint from the mini gelli plate in an art journal (left page). I stamped it on top of some other layers with the gelli plate and stamped the paint I had lifted on the opposite page, and it didn't work too good, but the pages weren't on a totally flat surface. I'll try again later on a flatter firmer surface, and maybe different paper. The left page is actually the back of a canvas, which is kind of rough.

The stamp did work good, however, using rice paper laid down over the buttons with paint applied to them, pressed, and lifted. I like it, so the button stamp will definitely not go to the trash bin. :D


Can't wait to make some more pages with it! :D

Saturday, May 30, 2015

Garden in the Kitty-Animalitos

Another project inspired by Tracy Verdugo's Animalitos class (see link on sidebar). I learned a lot on this one too and can't wait to do a rabbit like this! :D

Mixed media on cradled wood panel, 8" x 8"...