Showing posts with label collage. Show all posts

Monday, September 8, 2025

Watercolor Elephant Sketch and Sketchbook Revival 2025 Class #35 and #36

 Hello! I'm behind on my posting, AGAIN. My days get by so fast, even though we've stopped sleeping so late. Not sure if time has speeded up, or I've slowed down a lot. Maybe a bit of both? 

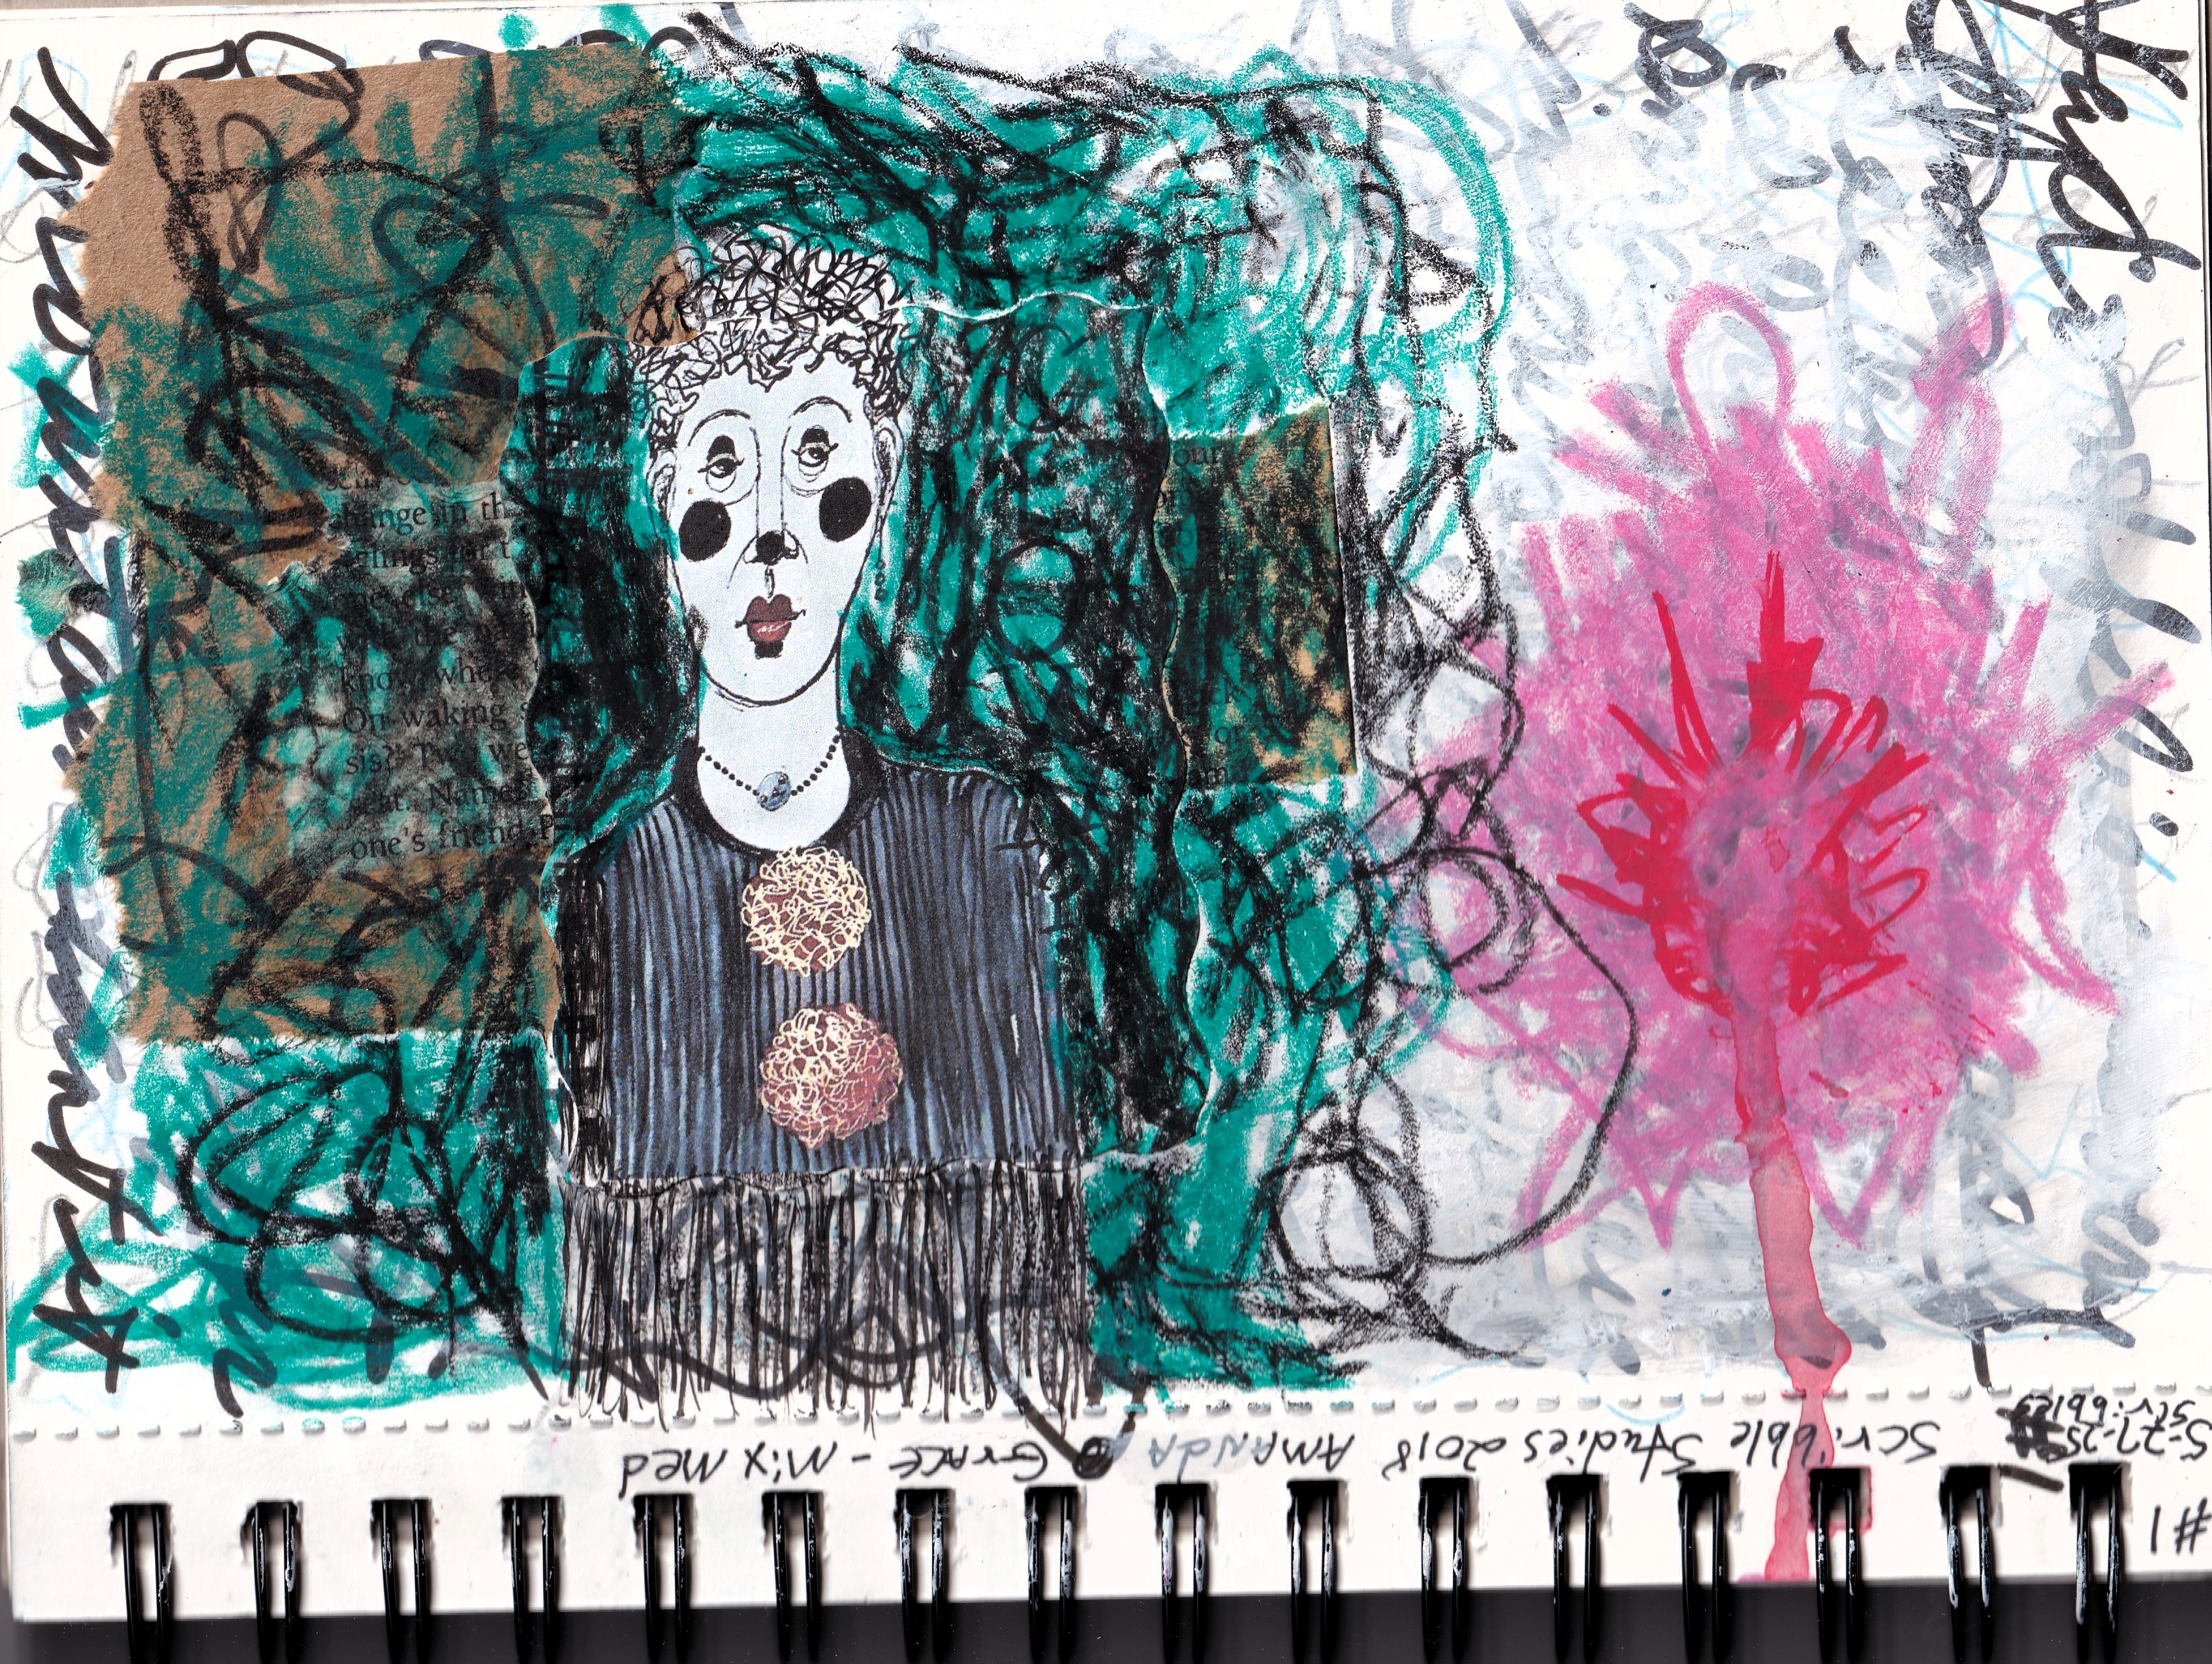
Anyway, I'm still trying to sketch something every day and paint some most days, and I did these a few days ago.


I decided to see if I could paint an elephant when a photo of one appeared on the cover of the Cooperative farming magazine that we received a couple of months back. It turned out much better than I expected, and I surprised myself! I was inspired by  that photo and sketched it off in pencil, then used watercolor and mostly a water pen brush in my mixed media Canson sketchbook. Such fun bringing him to life! I love his character!


This one was inspired by a character on a TV movie. I think they might have been vampires? Not a likeness, but I paused the TV and sketched her face and cloak hood with a pencil in my Canson mixed media book, then, for some reason, I decided to give the hood some red watercolor. Maybe I will go back at some point and go over the pencil with ink, but I kind of like the watercolor /pencil mix. I am trying to do more faces in different poses than just straight on. Not the best, but I learned from her, and the experiments continue!


Same sketch as above, but with a warm black/white filter. Not sure which I like the best?


Just for fun, and a break, I used a micron pen and drew this one with one continuous line, making up the flowers as I went. I didn't worry about edges, composition, or anything. Just let things go where they wanted to. Fun stuff! Watercolor and ink in mixed media sketchbook.


This little sketch was inspired by an old family photo of my great-aunt. I didn't try for a likeness, and her face looks younger than she was, but I was just practicing the whole figure. Her brother was actually in the photo with her, but I didn't have the nerve that day to try drawing him. I left room on the page for him though! Pencil in mixed media sketchbook


Sketchbook Revival class, "Florals in Watercolor and Ink" with Neesha Merani was interesting and fun to try. It wasn't near as easy as she made it look, and I squeezed the bouquet into too small a space to fit my class sketchbook, which is mixed media hot pressed paper. I like the techniques though and will try again on larger watercolor paper! Practice makes better! I think?


Sketchbook Revival class, "Serendipity Stories" with Laly Mille was also very interesting and fun. We used mixed media to let a story reveal itself, and once again I squeezed a lot into a small space in my class book. I plan to do a larger one though! So much fun gathering up and using the different media to tell a story!

That's it for this post, but not all my art trials! I do have another post draft ready, but I will finish and post it later. I also have some sketches that I haven't scanned yet.

I had to get a new computer with Windows 11, and I have been getting it all set up and everything transferred from my old one to my new one, and also trying to learn the new stuff with the new Windows 11 that I use. Takes a lot of time and focus to switch over, and then hubby needs a new one, which I will have to set up for him. Fun stuff. NOT. But thankful we can get new ones and I can set them up, so far.

So much going on that I get overwhelmed trying to keep up with everything. Seems like everyone I know is in the same boat with me. So thankful I have art, and other crafts, to keep me sane!

Thank you for your visit and your support! Stay safe and well, and keep making stuff! 

Sunday, August 24, 2025

Sketchbook Revival 2025-Two Mixed Media Classes

 This is my 34th class in the sketchbook revival classes, and although it didn't turn out anything like it was supposed to, I loved it, both the process and the outcome.


Mixed Media in my small sketchbook with notes and with a folded page added to my book page to make a three part concertina piece. I got a bit carried away with my sepia and India inks over collage, which made it dark, but it has many layers of collage, inks, paints and marks making a background for a city scape. It wasn't supposed to be this busy, so that I could sketch buildings over it, but it looks kind of like a city at night to me, and I can see all sorts of mini scenes within it, so, even though I could go back in with gesso, etc., and lighten it up a lot, I choose to leave it as it is. 


Same piece without the notes. All of the nuances don't show up in the photo like they really are. I still love it! It was so much fun! 


I enjoyed the first try so much that I turned the two added page folds over and did another one on the back with only two parts. It's not quite as busy and dark, but still too busy to draw buildings over, I guess. Again, I can see all these wonderful little scenes within that I love, so I'm also leaving it as is, because I love it. Both inspired by Karen Stamper's class "Start Your Pages With Mixed Media Mark Making". 


This one, also a lot of fun, was inspired by Iris Fritschi-Cussens's class "Mixed Media Play", and involved many layers of acrylic paints, markers, pencils, ink, etc. I used a single page, where the teacher did a double page spread, and I tried to incorporate all the techniques she shared, which is a no-no, but it'll help me remember better when I do one in a larger format. I love how it turned out, too, and look forward to doing the next one.

I think I have about taken all of the classes in the sketchbook revival, for now, that I'm really interested in. Well, there is one more that I know of, then I may take a break and practice what I've learned. Or, who knows, someone else in the group may post their page from another class that will pique my interest. There are over 130 classes to choose from!

I am also working in a little bit larger Canson sketchbook, and I currently have seven sketches done, six of which I'm adding watercolor to. So, I'm still trying to do a sketch a day of random subjects, plus adding color to some. Keeping my mind and hands busy!

Take care and keep creating!

Friday, July 11, 2025

Sketchbook Revival 2025-A Garden, a Street, and Some One-Liners

 It's been a few days since I posted, but I've been busy! Still learning and trying new lessons and loving it!

First I grew a mixed media mark making garden in a concertina book with Helen Stamper in her class "How Wild is Your Garden?" A concertina book is made like an accordion, and it can stand alone on its edge when it's opened, or it folds up to look like a book. I only made a small sample to remind me how to do it and glued it into my sketchbook on the backside. You can also make art on both sides if you want to. I used charcoal, oil pastel, posca pens, crayons, colored pencils, sticks, my Zig marker, anything and everything layered over to look like a tangled overgrown garden. I want to do a large one in black and white, and also one in color. Once I got started, I had a blast!


This is another very fun class with Karen Stamper called "Collage The Street", also in my small sketch book. I so want to make a large tall one like she did in her demo. The nosy woman in the window and the dog on the porch are two of my original sketches, which I printed off as thumbnails. Collage and sketching are so fun together. Great workout for my imagination, as most of these classes are!


Another fun class with Carla Sonheim called "One Liner Drawings", in which we took our pencil and drew things from her prompts using only one line to draw the whole thing, like a child. Her prompts were cat, elephant, flowers in vases, and toilets (commodes). I just added the swan-ducks. I did three pages in my small sketchbook, then I had had so much fun I sketched a bunch more in my large book!


After sketching several of each prompt, we picked one idea to re-draw and color (I used colored pencils). Then we picked another idea to collage and color, so I used a piece of text for the swan face and a piece of brown paper bag with asemic writing on it for the wing and colored in in with watercolor and a Posca pen. I also used colored pencils to color one of the elephants just as it was, plus some glasses.


I forgot to make a photo of the sketches before I made paint blobs between them to pull images out of. It also used up leftover paint and cleaned off my brush.

I just finished another class today, watercolor, but decided to put it in the next post. About to watch a new class!

We went out of town the last couple of days, so I didn't get much done. Today, I picked out and ordered a new laptop. The one I have is fine, but it doesn't have enough room for the new Windows 11, and after October 14 they won't do free updates for security for Windows 10. At least, that's what I understand from the messages Microsoft has been sending me. I'm glad I can get a new one, but I dread setting it up and learning how to use it. I'm getting too old for this technical stuff and have nobody to help me. Maybe I'll get through it ok. We'll see.

Anyway, it's really hot in Tennessee right now, so I'm really thankful for air conditioning!

Prayers for all the flood victims in Texas, and that they find all those missing people and pets. Such an awful thing to happen, and it can happen anywhere anytime to any of us.

Take care, be kind, and stay creative!

Sunday, June 29, 2025

Mark Making Page and the Girls

 These are not from any classes, but use some of the techniques I've learned in the classes, of course, and are in my bigger better sketchbook, Winsor Newton 7"x10" mised media


Just a mark making page inspired by Helen Wells black and white sketchbooks, which I love. I wish I hadn't started it off by scribbling a stabilo pencil over the background and using a water brush over it. When I made the marks over it with various tools with black inks it made the whole thing too dark, but I learned NOT to do that again. I prefer black and white. It was a fun relaxing page to do anyway!


I'm not sure this one with a pony tail is done, but I kind of like her at this stage. I used a stabilo pencil and a water brush to sketch her, then added a water color tint of yellow ochre and some blue mixture leftover on my palette for light and shade. Not liking the white spots in her hair, but leaving her for the time being. 

I sketched this face from imagination and added some watercolor a couple of weeks ago, then added the napkin collage and butterflies the last couple of days. The quote is from Helen Wells, Artist.

Just for fun things aside from classwork! I have a couple more faces sketched and started, but I'm about to start another class. Not sure which yet!

Thanks for visiting! I appreciate your support and encouragement. See you in the next post!

Tuesday, June 17, 2025

Sketchbook Revival 2025-Face and a Blue Door

 I enjoyed the lesson with Toni Burt on Faces Made Simple (previous post) that I decided to do another one in a bigger sketchbook with much better paper! In fact, I have sketched off a third face for the same technique...


I didn't re-watch Toni's video for this one. I just sketched the face, added a bit of watercolor, and added some collaged pieces from a magazine, a napkin, a piece from one of my gelli plate prints, part of a teabag, and vintage sheet music over her scrapbook paper dress. A lot of fun and I love her! Can't wait to see how the next one evolves!


This little watercolor vignette is from Shari Blaukopf's lesson in "The Urban Vignette" in watercolor and ink, which I followed along with her from one of her photos, except I painted in our front door instead of the one in the photo. It was a challenge for me, but it was fun, I learned some things, and it made me want to go out and sketch things with my watercolors and ink. 

I still live in the little, very old, town on the river that I was born in, and there are so many old and interesting things that would be fun to record in this way. Only problem would be that everyone knows everyone (you're either related or you went to school, church, or work with them, or got acquainted with them in the grocery, drug store, or bank) and they would want to visit with me while I sketched. I can't talk and do anything at the same time. Maybe I'll just go through my old photos. I have a ton that I've taken myself over the years, plus I inherited all of my parents old photos, so I have a treasure trove to sketch from! 

But, for now, I'm on to the next lesson, which I already have started, and it happens to be a hoot owl with Tamara Laporte!

I've been doing one or two classes a day since the beginning May 27, and I started one day before yesterday, but had to skip yesterday to go out of town back to the Retina Specialist for a three month check-up. He said my eye still looked good. No bleeding, so I didn't have to have a shot in my eye, but I still had to go through my eyes being dilated, tested, etc. I still had blurry vision when I went to bed last night, and my pupils were still a bit dilated. My eyes are a bit scratchy feeling still this morning, but my vision is back, thank goodness. I have to go back for a check in three months, unless my vision starts going in that eye again, in which case I have to go back right away. Prayers that it stays okay!

That's it for this post. I want to work on my current lesson, the hoot owl, and I need to do my physical therapy exercises for my back/hip. I've skipped three days of PT, due to busyness, company, and the retina specialist, so I sure don't need to skip today. Don't know when I'll find time to vacuum and dust! Yikes!

Hope to see you in the next post! Take care and keep learning and trying new creative things. You never know what's possible, or what you will find out that you love, when you try something new!

Friday, June 13, 2025

Sketchbook Revival- 2025-Mark Making

 These two classes deal with mark making, and I had a blast!

Expressive Sketchbooks: Nature with Helen Wells

The lesson is about using tools that you find in nature, and ink, to make unique experimental marks inspired by nature. Things like twigs, moss, leaves, rocks, feathers, etc. that many of us like to pick up on our walks anyway.

I did five practice sheets with ink, both ends of a stick, a feather with both ends, and a thin pottery shard, then I  used the same tools directly on a sketchbook sheet for the first photo, and I cut up the practice sheets and collaged some of the pieces onto the other two skbk pages. This is what I came up with. I loved doing them and want to do maybe a whole sketchbook full of them at some point!

"Overgrown"-It reminds me of an overgrown flower bed or something!


Fearless Drawing: Make Your Mark and Silence Your Inner Critic-Deb Putnoi

I almost didn't try this class, but I'm glad I did. I learned some things about mark making that made me more confident about making marks!

For the first page, I just used my Zig Writer pen and made separate rows for each thing she suggested I do, but after seeing a couple of examples, on the second page I used different markers, pens, pencils, paint pens, etc. to make the marks in different colors lapping over one another however I felt like making the marks. It was fun and informing, plus I liked the page I made!


I know. It looks like a child did it, but that's the point, to learn to relax and play with our art, and I'm gaining in confidence and looseness, and that's what I want. I've always been too up-tight and hard on myself. I'm learning to let go of perfection one step at a time, to not be afraid of messing up, and to just go for it and have fun!

I'm so glad I went ahead and paid for access after the free binge fest. There are so many more classes I want to sample and add to my own art!

Take care and keep practicing!

Wednesday, June 11, 2025

Last of Sketchbook Revival Free Binge Fest 2025-Classworks (4)

 These are the last four classes I got in before the free two weeks ended on June 9, but I signed up for the VIP  package, so I have access to all the classes for the last five years, plus other stuff from now on, so I will continue. Totally worth the price! I have enjoyed it so much, have gained in confidence, am less afraid to try new styles, and I've learned so much!

The Goose Girl with Toni Burt

This was a mixed media class that I was brave enough to give a try. I used Toni's drawing to sketch from and followed her instructions, and this is what I came up with. It wasn't as easy as she made it look, but I love it, and I learned from my mistakes! The yellowish on the dress is actually metallic gold paint and the dress is from one of my gelli plate prints.


Cosmic Smashbooking with Catt Gellar

This was also a mixed media class, but was about finding answers to things that are bothering you. There are three layers of writing, a layer of paint, a layer of mark making, and collage. Smashing the pages together, then wadding them up and straightening them out was also involved, but my paper was too thick, so I didn't get to do that this time, but I want to try another page where I can. I was surprised that the top collage was a response to the questions in the writing and intuitive mark making. I enjoyed the class a lot.


Toni Burt's Faces Made Simple

This is a second class with Toni Burt, called Faces Made Simple, which I couldn't resist, especially after I had done the girl with geese. This is also mixed media with pencil, gouache, and collage. I followed her instructions, but I made the mistake of using my Kuretake watercolors, because they were handy, instead of gouache. I can see why the gouache would have worked better, but, again, I learned a lot from her and will try another one. In fact I did the prep work in a better bigger sketchbook today! Loved it!


123 Let's Draw Cats with Este Macleod

This class was a fun exercise that also worked my problem solving brain. I started with the numbers 1-9 and drew a cat character starting with the particular number. It's amazing how many one can come up with, and they will all be different! I may also add accessories and color later on. Fun stuff!

That's it for this year's binge fest, but, as I said, not the end of my learning adventures! I managed to complete twelve classes during the two weeks, but there are so many more I want to try! I love learning the processes. I have watched two classes today and finished one, which I will share later.

I have let everything go for the last two weeks to do this every day, and I have formed a habit that I don't want to stop, but sooner, or later, I have to do some house cleaning. I also have a third appointment, after three months, with the retina specialist on Monday. I was hoping I wouldn't have to get another shot in my eye, but I'm thinking I probably will, because I'm still having a bit of a problem. I don't mind though, if it'll save my eye.

Anyway, life is full of twists and turns. We just have to take it a minute at a time and deal with it, with God's help. Take care and keep learning and creating!

Wednesday, June 4, 2025

Sketchbook Revival Binge Fest 2025-First Classworks (3)

 I started the Sketchbook Revival free Binge Fest 2025 on May 27. It was free for two weeks, but there are so many classes to choose from that I saw that I wasn't going to get all the classes that I wanted to try done, so I paid the VIP price to have access to all of them from now on, plus all the freebies. I have already gotten my money's worth with the ones I've taken, but I can now take my time and relax and enjoy all the classes I want! 

There's a wide range of mixed classes, so who knows what will show up in my posts here! Mixed media and most are in my too small 5 1/2 x 8 1/2" sketchbook with hot pressed heavy paper, which is not the best choice, so I may change at some point.

The first class I chose was "Things With Wings" with Val Webb, which I enjoyed very much. It was a class on drawing birds and doing an India ink sketch of a heron.


My first attempt at sketching a heron...


Sketch of a heron in India ink and brush...


Pencil sketches of three other birds I had never tried from the teacher's reference sheet of birds...


The second class I chose was "Scribble Studies" with Amanda Grace. This is my page of notes in my large sketchbook. These are three exercises in sketching like a child to loosen up my art and just have fun. All three are mixed media, and not much like the teacher's. I tend to watch the videos, then try to do them from memory, and my memory isn't that good, so my work often strays a bit from the lesson. They are more reminders of what to do to create my own version on better paper.


The third class I chose was "Portrait Party" with Koosji Koene. It was on sketching a self portrait using only one line without lifting the pencil from the paper. The first page is six selfies where I had to trace my face with one finger while keeping my eyes closed and sketching with the other hand in different markers with one line.


The other exercise, which I did two of, was trying to keep my eyes on a photo of myself while sketching a selfie without looking in one continuous line. I didn't succeed in not looking at all. I had to glance at the sketching a few times. Very hard not to look!


It was hard to stop on each of these classes to move on to the next! I did these three before I decided to do the paid package, so I was feeling rushed a bit, but I really enjoyed all three and want to do more of each!

So this is my new adventure! I hope you enjoy what I share of my work. It's all a bit wonky, but that's ok. It's supposed to be fun and experimental!

Let's see what classes I chose next in the next post! I've done eight so far and am ready to choose another...

Try something new that takes you out of your comfort zone once in a while. It's good for your soul!


Tuesday, June 4, 2024

Hidden Paper Clips, Journal Spread, and Empty Teabags

 This is the results of the last few days of dabbling with my creative stuff, minus a couple of sketches that I'll share in another post. At least I'm trying! 😀 


I covered two more large paper clips and one in a different way and added some collage pieces and words. They actually look better than they're showing up here. One has a navy blue ribbon,  one a fabric tie, and the "nest" on the one on the right is actually red, not black. I used a dangle earring on the one on the left for the time being, until I can get a beaded dangle on it (I'll have to unearth my beads first). I'm going to use at least one of these in my mini junk journal, and I want to make some more! That's a food sticker under the clips. I can't resist saving them!


This is another spread in my little junk journal. The page under the paper clip is the front of a thank you card from our nephew and his wife. It has metallic gold speckles in opposing corners on a pink background, and this cute little stamped girl fit right over the words. The back is blank for writing, and the page under it is a text page with marbling. I may tweak it a bit at some point. The page on the right is a page of typewriter letters printed on pink cardstock with another strip hinged to it with dotted duck tape. Except for the collaged flowers it is also blank for writing. I saw the bird idea somewhere and was inspired to make one out of large and small round paper punches and scrapbook paper. When the hinged part is closed the bird's head sticks out. I like it!


Here is a box of used and emptied teabags that I learned a valuable lesson on. I have been drying and saving used teabags for a long time. However, I thought they would be ok until I could get around to emptying them, and I had a LOT of them in a bag, some in a ziplock bag. 

The other night I decided to empty them. Some of them emptied without a problem, but some of the herbal teas, especially orange & spice and peach tea, had kind of dissolved together and wouldn't come out without tearing the bags, plus they had tiny holes where bugs had been eating. The ones in the ziplock bag had molded from condensation. I emptied this box full, probably a hundred at least, until I got tired of picking through them and trying to untangle the tag and strings (I had to tear them off most of the bags), so I put these in this box, which is more than I'll probably use, and tossed the rest. 

Moral of this story: Let the teabags dry completely, then empty them BEFORE you store them! I left most of these in tack (folded), but many of them will be flattened out to use. There are so many great ideas for them on youtube, and I will dry some more of the orange & spice and peach teabags, because they make pretty pinkish colors when dry, but I will empty them before I store them next time!

Anyway, just sharing some fun stuff I've been playing with the last few days! Today, I played with some beeswax crayons in my sketchbook. Found them when I was looking for something else. Had completely forgotten about them! I've also been wanting to do some more meditative stitching. I found one I had started a while back, so it may show up on here soon! But that's another post...

Thanks for visiting! Hope you enjoyed it!

Wednesday, May 22, 2024

Hidden Paperclip Trials

 The other new technique I learned for my mini junk journal this week, which is probably old to everyone else, but I wanted to try it, and it is fun and can use up a lot of tiny scrap pieces. It's hidden, or covered, paperclips, and there are MANY video versions on Youtube with great ideas, but these are the two fairly easy ones I tried. It took some figuring and trial and error to get the length right on the first one, because the lady in the video used a small one inch paper clip and the measurements, and all I had was a large one and a half inch one, but I eventually got it!


I learned this one from Tracie Fox Creative-A Hidden Paperclip That Has Everything! https://www.youtube.com/watch?v=2vU9BEP_ZFE and she has several variations in the video. I included a comparison of the paper clip before and after.


Basically, I cut a strip of scrapbooking cardstock a little over 4x the length of the paper clip and 3x the width (after a few attempts of getting it too short), folded it in half with the pretty side to the inside, put the paper clip on the middle of the fold, folded the end of the paper up over the long side of the paper clip with the pretty side out, then folded the other end up over the short side of the paper clip. The fold for the short side should be at the same place as the one on the long side of the clip so that the top ends match. Open up and glue each side together, especially around the paper clip. Make sure to hold together long enough for the glue to stick, then let dry. I wrapped my second one in wax paper and put a paper clip on it to hold it together to dry.

I let it dry, inked the edges with a reddish ink (because I've lost the vintage brown one), then picked up a used postage stamp, a bit of newsprint cloth, and a bit of book text that was cluttering up my workspace and collaged them to the front of the clip and added a thin layer of gel medium to finish, and now I have a new paper clip/tab for my journal! And it's pretty!


It can be used on the top of the page like a book mark or on the side like a tab. I have also seen them with the end of the paper clip left sticking out enough to add a ribbon or dangle to, or a hole punched in the bottom corner to hang a dangle since I made these. All kinds of neat stuff you can do with them. This lady also shows how to do tiny collage clusters for adding to small projects. You can do them in bunches for adding to all kinds of things. Check out her video to see how it's done step by step!


I did make a mistake on this one, but it still works! I folded the paper up to the bottom of the short side of the paper clip and trimmed the end to match the other side (because I watched the video, then tried to do it from memory, and my memory isn't what it used to be). THEN I figured out that I was supposed to fold both sides the length of the long side and the ends would match without trimming! Duh! 

Anyway, I made another one just to be sure I had it in my head, the blue one on the right side of the page above. It's glued, dried, edges inked, and waiting for embellishment.

I also tried another variation on Youtube from Sunset Crafts and More-Covered Paperclips with Dangles https://www.youtube.com/watch?v=Gph6WmzAqIM  She had some really pretty ideas, and covering the paper clip was somewhat easier, but the dangles take some time. She did several, like an assembly line, at once, plus she showed three different sizes, from jumbo to small with different embellishments. Check out her video to see much better examples with great instructions!

I basically made an example from memory, which we all know isn't that great, but I took a square piece of scrapbooking cardstock cut about 3x the width of the paper clip and not quite as long as the clip. A little of both ends of the paper clip are sticking out. I wrapped the paper around and glued it to the long side of the clip, pretty side out. She tied pretty ribbons through the top of the paper clip and used jump rings, beads, and charms for dangles to hang from the bottom, with tiny pictures collaged to the top. Since I just wanted an example to jog my memory later when I make some more, I used an old dangle earring and a torn fabric strip for embellishment. The top is so small that I just added a line of text with gel medium. Not near as pretty, but I have the idea!

These were fun to make, and I want to make more, but then, I want to try making everything I see on Youtube and Pinterest craft wise, and there's not enough time, space, or money for me to hop from one thing to another all the time! :D Anybody else have that problem?

My little mini junk journal is becoming a sampler of journaling ideas, and I love it! 

Try something new, even if it's just putting a paper dress on a paper clip! It's good for your soul!