Saturday, December 29, 2018

Friday, December 28, 2018

Calendars for 2019

I decided to do a few calendars for gifts at the last minute. Because of the expense, even half price, I elected to do half as many this year, and it was a hurried effort. I pulled photos from my files of art that I did this year, and I forgot about some that I had intended to use if I made a calendar. It turned out ok though. I used prints of some of my gelli plate prints, monoprints, quirky doodle sketch/watercolor paintings, and mixed-media pieces.

In the actual calendar, the photos are on a medium gray slightly textured background, which compliments them. I just didn't take the time to photograph the actual calendar pages. Sorry!

MOXIE ART FAVORITES ART CALENDAR FOR 2019
ALL ART AND PRINTS CREATED BY SHARON PRATER-POPE IN 2018
(MY HANDS-photo by Hubby)

JANUARY-THERE'S NO PLACE LIKE HOME!

FEBRUARY-PROFESSOR CROW BYRD

MARCH-QUIRKY DOODLE ROSE BOUQUET

APRIL-QUIRKY KOI MAGIK


MAY-TELL ME A SECRET

JUNE-SUMMER SUNRISE

JULY-COME ON OUT OF THERE, MOUSIE!


AUGUST-GOLDEN CROW FEATHER

SEPTEMBER-FALL STORM COMING

OCTOBER-OCTOBER CROW CALLS

NOVEMBER-WINTER IN SUMMER

DECEMBER-THE STAR IS BORN


BACK COVER
Small B/W Print of Front Cover


Many of these were also used in the gift jewelry in the previous post. The recipients of both seemed pleased, which made me happy and made my Christmas even better! 

Looking forward to the New Year and hoping to get more, and better, art made to gift next year!


Thursday, December 27, 2018

Original Art Necklaces and Keychains

I hope you all had a happy Christmas and family/friend time, and I hope you made some cherished memories to think about in the years ahead. I know we did!

I decided to try something new for small Christmas gifts for family and some friends this year! I experimented with printing some of my original art from this year on regular printer paper with the thumbnail setting. It printed a whole bunch onto one page, all about an inch square or rectangle, which could then be cut into one inch round or square shapes (thinking about inchies).

Then I went to Pinterest looking for ideas and found some jewelry made from original art that I really liked, so I went to Etsy and found some kits for necklaces and key rings which included everything I needed, including Diamond Glaze glue, glass cabochons, chains, and all the metal trays and key ring parts.

I practiced by making myself a necklace and hubby a key ring, using a monoprint of the furbaby we used to have, and still miss every day, and one of my crow quirky doodles.


They turned out ok. The only thing is on the round trays, the bail is turned the wrong way and I didn't have any jump rings to match, so I improvised by threading the chain though itself and the bail so the pendent would hang flat when wearing it, instead of flopping around with the back showing as much of the time as the front.


So, I picked out some photos of my art and printed off thumbnails of them onto good matte photo paper and sprayed them with a sealer. They turned out great! Next, I looked up a tutorial online showing how to work with the cabochons and assemble the pieces so that the prints didn't smear or stick where I didn't want them to, or peel off. 

Above is how the pieces looked after I cut, glued, and trimmed to fit. I ordered a one inch round hole punch specifically to cut the round ones, but I misplaced it and wound up cutting them with scissors. Hard to get a good photo with the glass domes. Assembling them on wax paper helps keep them from sticking to things you don't want them to!


After they were dry, I glued them into the metal trays, wiping as much excess glue off as I could. Glue and I do not get along well, and it was kind of messy. I wondered about sealing the back of the paper before gluing them into the tray, but didn't. I just added some extra glue to allow for the absorption into the paper. I later learned that by not sealing the tray and the paper separately, before gluing them together, the metal can oxidize and leave a bluish tint on the picture. Anyway, I didn't do that, but I can't see any bluish tint on these, so, hopefully they'll be ok.


I let them dry for two or three days before cleaning the dried glue off the glass and assembling them into necklaces and key rings, which I gave as gifts. I really wanted to add some beads to them, but ran out of time. The recipients seem to like them though, which made me happy!

Included are some of my painted quirky doodle sketches, a digital painting, a couple of class paintings, gelli plate prints, monoprints, and mixed-media mostly done in open media acrylics. The findings are copper, brass (or antique gold), silver, and antique silver. I ordered the kits with equal numbers of the four colors this time, but next time I will choose which colors, because most of the colors in my art really looked better in the silver. I also want some bigger plates to do original watercolor paintings for. We'll see how that goes.

Now ready to make another batch with the kits I have left! And this time I will seal everything before gluing together. The first tutorial left that part out. I found the second tutorial after I had already finished. Hopefully these will be okay, at least until they get tired of them!

A fun project and a way to share my art, since I don't sell any of it, at least not yet! Also fun to learn new things! And I actually finished these! I have a whole stack of works in progress to finish from years back. I love starting new projects, but am never quite sure how to finish them right away, so I move on to something else. Just the quirky way I work!

Keep doing the things you love! It helps make your world, and mine, a better place!😊

Monday, December 24, 2018

MERRY CHRISTMAS!

MERRY CHRISTMAS FROM THE MOXIE RABBIT! 
Wishing you all a magical Christmas with loved ones and safe travels, no matter how short or long the trip! 
HO HO HO!


Tuesday, December 11, 2018

Gelli Plate Layering Experiment

I saw a new, to me, technique for layering prints on the Gelatin Printing Enthusiasts Facebook group page, so I gave it a try. Mine failed miserably, but I was able to salvage them by adding a few details after they were pulled. I used Golden Open and Fluid Acrylics and a 2 1/2" x 3 1/2" Gelli arts plate.


This was the first one I tried on a Speedball printmaking paper scrap. I layered fluid green-gold on the plate, let it dry, layered turquoise over it and let dry, layered yellow and let dry, then layered titan buff open media and let set a few minutes, laid my paper on and burnished. It was supposed to pull all 4 layers up together, however mine only lifted the T buff layer, so I laid titanium white down on top of the other three layers and spritzed with a little water to help re-wet the other three layers and let it set a few minutes, then laid the paper down and burnished and let set until almost dry. When I pulled it up, the paint layers came off, but only picked up the shapes seen in the print on a white background. It reminded me of trees reflected in water, so I added a bit of a blue gelato gel stick to the white areas and a bit of water soluble pencil to define between the land and water reflections. The dots came from me lifting up some of the excess paint with a napkin on one of the layers. Not the print I was after, a keeper nonetheless. 😊


This is the second one I tried on regular printer paper, because that's what was handy and I was experimenting. It's also the first of three pulls. I layered the same fluid colors, in the same order and allowing to dry between layers, as the print of the trees above. The top, and last layer of open media paint is titan buff. I spritzed with a little water, laid the paper down and burnished and let set for a few minutes before pulling the print. Again, not the print I was after, but a good background print, so I applied gold metallic open media paint to a duck feather and stamped it onto the print after the print was dry. Not a bad save!


This is the second of three pulls. After pulling the print above, I spritzed a bit more water onto the paint layers and pulled the print, which was also a good background print. I let it dry, applied open media titanium white to the duck feather and stamped it onto the print. I LOVE feathers and I like this print, so another save!


The third of three pulls, which lifted barely any paint and left a lot of white paper, so I stamped the duck feather, which I had lifted paint from the second print with, into the negative space. I may add a bit of detail into the top of the feather at some point, but I kind of like it like it is. The feather didn't lift enough paint from the other print for it to show, which is why I stamped the second one with a paint laden feather.

I thought I was following the suggestions on layering the paint before pulling a print, but obviously, I goofed up somewhere. I think I prefer pulling one layer at a time, using a register, although, sometimes I fail to let the prints dry long enough between layers. But that's ok. Even it gets a bit muddy looking, I can always let it dry and add another layer, or a stamp, or a stencil, or use it to collage, so it's all good. They can't all be frameable and gallery worthy, but they all have character!

The gelli print adventures continue...


Saturday, December 8, 2018

Mini Gelli Print WIP

This week's mini gelli plate printing session, using mostly my finger to apply the paint, on scraps of paper left from printing and rice papers. These are about playing card size 2 1/2" x 3 1/2" and are still works in progress for the most part.  I used my finger, my handmade button stamp, and white duck feathers that I found while decluttering.


Finding Stuff While Decluttering!

I have begun the long slow process of decluttering/organizing my dining/art room, which hasn't been done in years. It's gotten to the point that I have no place to work and I can't find anything, so, although it's overwhelming, I have no choice but to do it. And this is only one corner! Yikes!


I emptied the piled up dining room table (lower right corner and the whole table is this piled up) into boxes, then sorted the stuff in the boxes into related piles back onto the table. In doing so, I've found several new art supplies that I had forgotten about, some that I had been looking for, and a couple of things that I was about to re-order.

Among the "stuff" I also came across a few of the items I made from paper clay in an online class I took a while back. They don't show up too well on this cigar box of buttons, but I made the button, the bead, and the two necklace pendants. Finding them made me want to get out the paper clay again! :)


I also came across this watercolored post card that I experimented on. I loved it at the time, but now, it looks kind of odd to me. Isn't it funny how our perception of things changes over time?

So far, I've gotten rid of two large garbage bags of papers and accumulated junk mixed in with art stuff, and I'm continuing to be surprised by finding things I'd forgotten about. It's like a treasure hunt! It's going to be a long process, but hopefully it'll be worth it in the end, if I can hold out to get it done when I'd rather be slinging paint. I've barely made a dent, but it's made a difference! 

New and/or Failed Gelli Prints and a Button Stamp

Another gelli print session with my 6" x 6" plate, using Open Media Acrylics on Speedball printmaking paper. I played with a crow feather, wild turkey feather, a silk flower, a roller, a brush, my finger, and a homemade button stamp (buttons glued onto a cd case). Most are still works in progress, as I will add details at some point. Fun stuff!


One of the failed ones from the last session that I added a pile of buttons to...


Another failed one from the previous session that I added another layer of paint to...


The third fail from the previous bunch that I also added a couple more layers of paint to. The photo is blurred. It actually looks much better in reality...


This one is a monotype where I finger painted the plate and printed the seascape. This one and the rest are new this session...


I call this a button stamp, but actually it works better to put the paint on the buttons and lay the paper on top and press down good. The brown print was a fail from another session, so I stamped black buttons, which I didn't like, so I stamped white, titan buff, and gold on top, for a pile of buttons. The other one is a gelli print, where I applied the paint in stripes with a brush, then gold buttons over.

Have you tried gelli plate printing yet? Keep learning new things! It's good for you! <3

Fall 2018 Field Trip Around the Farm

The Saturday after Thanksgiving hubby and I rode around our little farm in the side by side we call Ole Yeller. It was a gorgeous sunny fall day that just begged us to be outside.

We inherited the little farm, where I've lived my whole life, from my parents, and in the last few years we had to sell our livestock and haven't been able to keep the place up. It's quickly becoming very challenging to maneuver, as the roads and fields are quickly being taken over by cedar trees, thorn trees, thistle, and other vegetation. I have always loved this place so much, and it's painful to see it growing up.

These photos are,  again, photos of some of my favorite places on the farm where my grandpa was also raised.

Papa's big pond that is so peaceful to sit by and commune with nature. This day the previous rains had filled it up. A blue heron flew up, startled by Ole Yeller's motor.


Same scene, only with our shadows included...


Hubby sneaking up to see if there were still any minnows in the pond. There weren't.


One end of the pond...


Sweet gum tree on the pond's edge that the beavers worked over...


Other side of the pond...


Trees by the pond's end that I call the three muses. I'm always drawn to them...


Three Muses closer up


Sun through the tree tops at the pond...


The other end/side of the pond...


Tree in the woods coming back from the pond that had to really struggle to live, but it made it...


Woods by the pond...


Woods and moss coming back from the pond...


Shady rocky area that I love...


Interesting old stump in a state of decay, but still beautiful...


Several photos of the big hedge apple tree in field behind the old homeplace that I love...


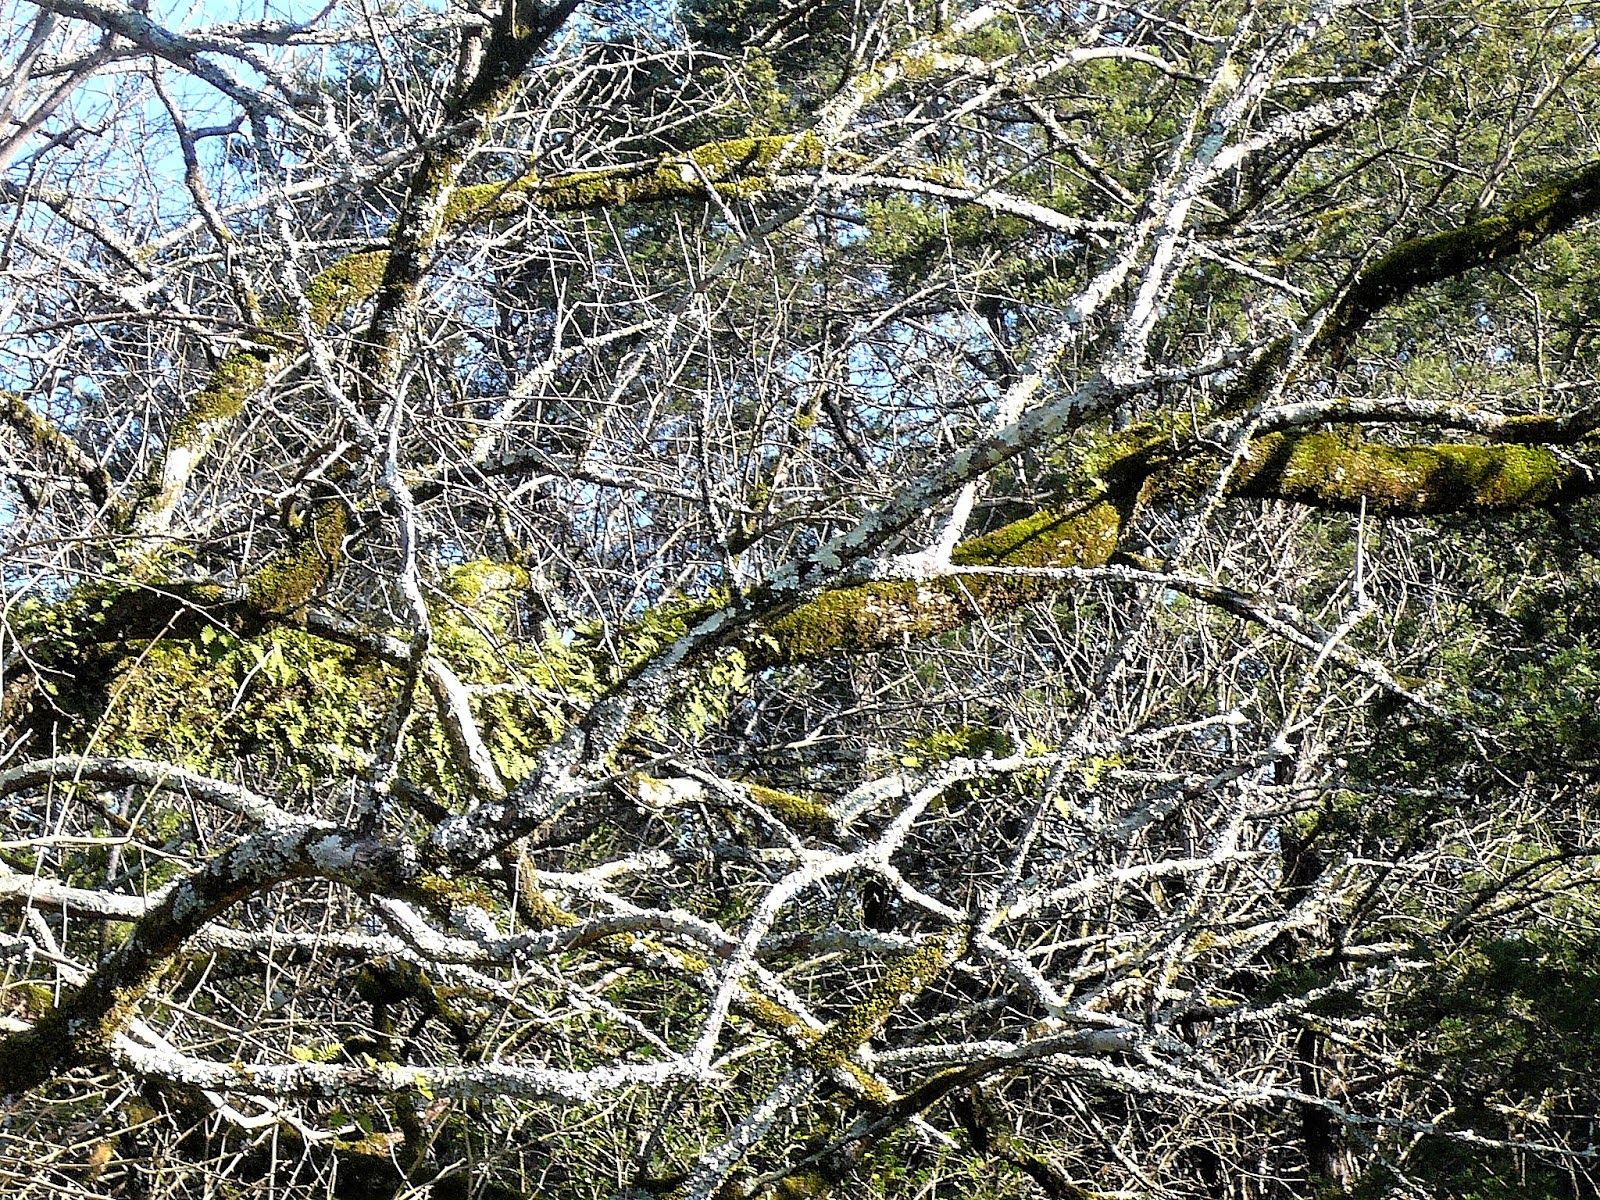
Moss covered branches...


Views of the end of the house and porch facing the barn that I have rarely photographed...


The breeze way, which has been filled with junk over the years...


The old kitchen, dining/bedroom, and back porch...


Interesting textures on the roof and boards...


The other side of the kitchen, dining/bedroom/tiny side porch/closets...


The old homeplace, built by my great-grandfather in the 1890s, living room with a real fireplace, which is now all rotted out on the inside...


The side of Papa's old tractor shed covered in moss and decay...


The old chimney...


Living room window, inside view...


Last photo of the old place today, the end of the front porch view. Lots of happy memories of this old place!


Almost back to our house is daddy's buggy/wagon shed on the little hill, holding a buggy and wagon that he built...


Bloomer cat was sitting by the rabbit in the old flower bed in our yard until she noticed me, at which point she started toward me, but stopped for a minute, letting me get this shot of her. She is one of the few feral cats around that will let us pet her.

It was a good day to be out, and although I enjoy walking it and taking the time to really take it all in, which I can't do anymore, it was another good bonding experience with hubby at the wheel, and we were both quite tired when we got back to the house, and ready for a nap. :)

Field trips provide a lot of good inspiration, both for the soul and the muse. Try one for yourself and see! :)